Process of Jumping to 4.0 Systems is described in detailed in this section of the page. Additional informations may be found in documents provided below, that includes PowerPoint Presentation, PDF files and Video.
Please study all of the provided documentation in detail before engaging the jump to 4.0 Systems.
Install gloCOM 4.0 on desktops of users ‘in advance’ of ‘switch over’ of PBXware to 4.0
gloCOM 3.8.x will, ordinarily be removed and users will be without gloCOM until, step 4
4
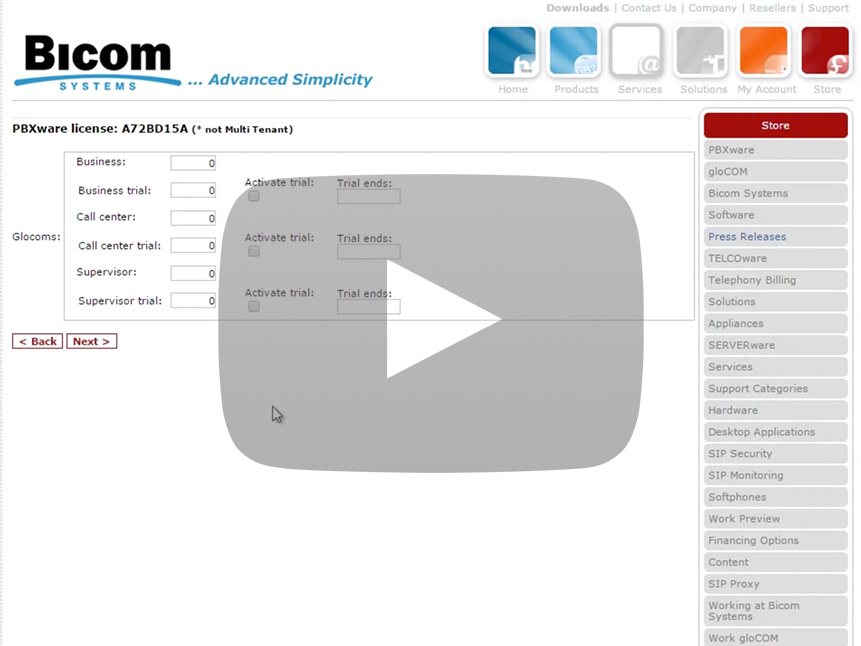
Upgrade your PBXware to 4.0
Multiple gloCOM Installs: The same computer supports multiple gloCOM versions if installed in separate folders.
Example: gloCOM default installation folder is "C:Program Files/Bicom Systems/gloCOM"
installing gloCOM in "C:Program Files/Bicom Systems/gloCOM-4 will allow you to use gloCOM 3.x until your PBXware is upgraded to 4.0.
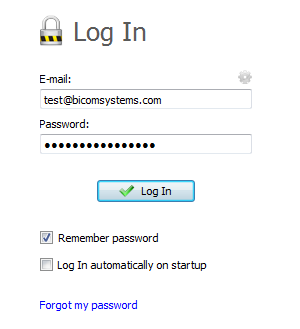
The ‘Login-in’ of gloCOM 4.0 is different. SIP username and password are not used and will not work.
User must use: E-mail and a new field “User Password”. User will receive email notice.
User Password must now be used to login into OSC, replacing PIN.
Optional
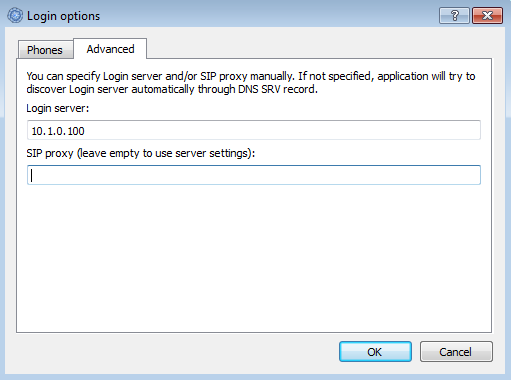
If you setup DNS SRV for the e-mail domain, the clients will automatically find the PBXware server. DNS SRV record that needs to be configured to point to PBXware is:
_pwproxy._tcp.domain. 86400 IN SRV 0 5 10005 pbxserver.domain
If you do not setup DNS SRV, you will have to supply IP address of the server in the client.
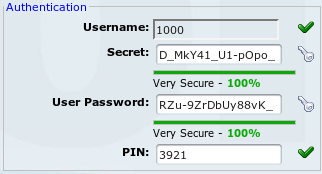
After update, system will generate new User passwords for all extensions. Users are required to change this password on login and once changed it is made invisible to all.
This website uses cookies. By using this website, you consent to the use of these cookies. View
policyI agree